


Last week we kicked off the Shop Talk series by delving into what it looks like to create a strong product line, but a solid collection will only take you so far without professional images and cohesive product descriptions! In our visual age, perhaps one of the best things you can do for your shop, and your brand, is to educate yourself on taking more professional, well-lit images to showcase your work. So today, let’s dive into a quick start guide to taking better product photos and boosting those sales!
Simply because you haven’t budgeted thousands of dollars for a professional product photographer, it doesn’t mean you have to settle for poorly lit, haphazardly composed images to fill your shop. Perhaps professional product photography isn’t a high priority item in your budget, or perhaps that’s a luxury that you’re working towards achieving. Whatever your circumstances, it’s important to understand that having beautiful images to represent your products not only boosts your visual brand, but also has the power to increase sales and improve your customer’s experience.
The Equipment
You don’t need to invest hundreds for an expensive camera to take beautiful photos. Most of the time, the built-in camera on your iPhone will work wonders! As you start learning to master product photography, use whatever camera you have available until you feel you’ve maxed out the options your current equipment provides. Then, you’ll know it’s time for an upgrade and you’ll be well versed in what types of features and settings you’ll actually use!
I recommend investing in at least two white foam core boards from your local craft store. Depending on the types of images you’ll be shooting, you can use one board as the base for your product and the other for the backdrop. If you’re shooting flat lay images, you can use one board as the backdrop and the other to reflect light onto your product/subject. For the majority of my Instagram photos, I use a white foam core board to achieve that perfectly white backdrop. If that light, bright aesthetic isn’t your scene, foam core boards also come in a variety of colors like black, pink, and blue!
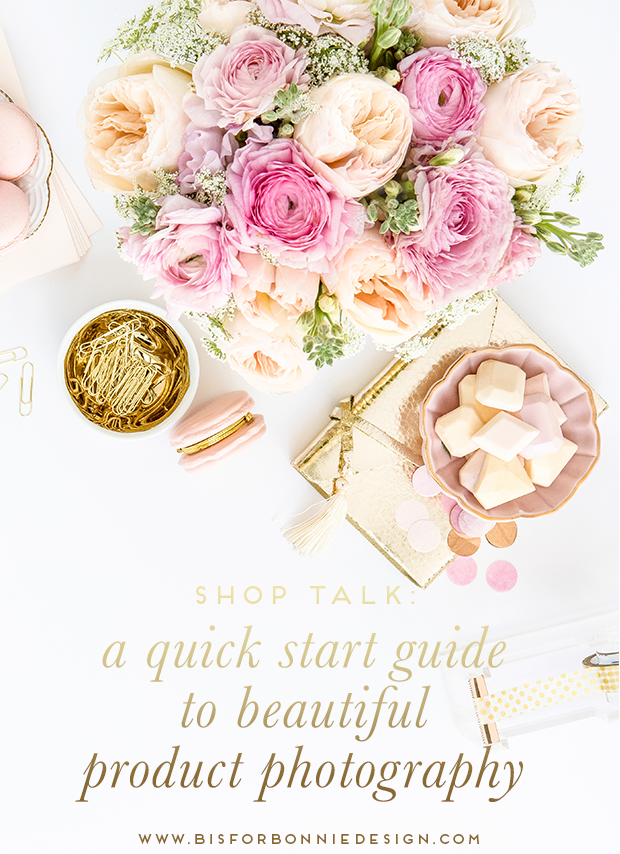
Props work well when composing highly styled images for websites, but I prefer to leave the props out when it comes to shooting product images for my shop. I’ll include perhaps one or two props to show the scale or add a bit of personality to an image, but I don’t want to detract from the qualities and beauty of my product by creating a visually cluttered image. I leave it up to your discretion to choose which props and how many to use, but a good rule of thumb is the simple, the better.
The Lighting
It doesn’t matter how expensive your equipment is. If you’re working in terrible lighting, your images will show it! Unless you’re expertly trained in studio grade lighting, I’d encourage you to ditch the artificial lights and set up camp next to a large window or glass door. Try for a light source that isn’t in direct sunlight, as the intensity of those sunbeams can cast harsh shadows on your subject. Instead, look for a well-lit light source with soft, diffused light to use. Want in on a secret? 99% of the images from my Instagram and blog over the past two years were taken on the floor of our kitchen in front of a glass door at our old house! Did I look silly styling all my images on the floor? Yes. But do I have bright, well-lit images to show for it? Heck yes!
Find yourself a good window, set up your trusty foam core boards in the midst of those soft sunbeams, and you’re almost in business.
The Composition
Unless you know without a shadow of a doubt which angles work best for your product, I’d suggest taking as many shots from as many angles as you can think of! This will give you tons of options to choose from when making your final selections.
I’m also a big advocate of using the Rule of Thirds as a guide to help you line up a shot. Rather than attempt to define this term myself and have any professional photographers who are reading this laugh at me, you can read this succinct breakdown here.
Editing
By now, you may have noticed that my unspoken mantra is, “the simpler, the better.” This applies to how you post-process your images, too! If you’re working with a photo that was shot in soft light, most of the time you’ll just need to make a few simple edits to bring the exposure, sharpness or color levels up to par. Unless heavily saturated and overly processed images mesh well with your visual brand, then you can skip the preset filters altogether.
As a general rule of thumb, I make a few quick edits to bump up the exposure of an image, as well as tweak the sharpness to crisp up any fuzzy lines. If an image is looking washed out, I’ll play around with the contrast just a tiny bit, as I want the final result to look as natural as possible. In product photography, you want the focus on the shot to be on the product itself, not the way it was edited to manipulated after the fact.
These techniques are not only applicable for product shoots, but can also apply to your social media presence. Once you develop a system or preferred set of conditions for taking photos, you can easily incorporate that method into the way you capture images for Instagram and other social sites. Discovering your unique visual aesthetic is a great way to infuse more of your brand into your images, and simple things from the lighting you choose to the series of edits you make to an image, can help you create a cohesive and easily identifiable photo style.
I’d love to hear from you, friend. How do you shoot images for your online shop or website? Do you defer to a professional or do you shoot your own content the majority of the time?
P.S. When/if you choose to trust your product photography to a pro, I highly recommend Shay Cochrane for custom work. She’s the mastermind behind my current product photos and many of the highly styled banner images on this site! For a lower budget experience, her SC Stockshop is also filled with professional quality images y’all will love.


Thanks so much for sharing your tips. These are very helpful and I love your photography, especially on instagram.
Alicia
Between the Pearls
[…] shared a quick guide post on product photography, which is great for businesses selling products! However, if you’re just a blogger looking to […]
Bonnie, this is a super informative post. I appreciate all the tips and guidance you’ve given me. It’s definitely been a learning process with blogging and product photography. I can’t wait to apply what I’ve learned to my blog! Thank you!
[…] a great general overview of product photography with tips that can improve your flatlays, […]